I’m not really sure how to describe this section except that I fixed a bunch of stuff. I installed a new fuel pump, I took the cowling from ugly as hell to at least primed, I fixed the wingtips so they at least lined up with the ailerons, I fixed all of the fiberglass tips on the tail feathers, removed round head screws that were all over the plane, built and installed new NAV/Strobe lights, I got the tail feathers painted, installed the standard gear legs, and installed the gear leg fairings.
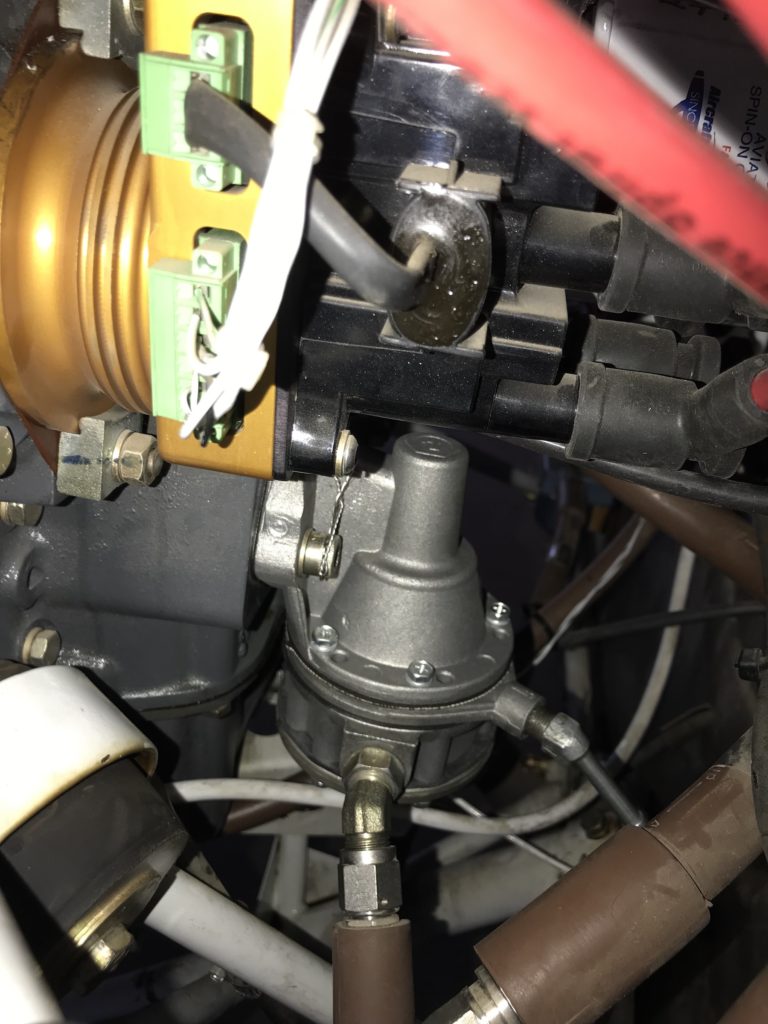
Step 1 – Replacing the fuel pump. Easy enough, so here’s the picture of the installed pump. Note my backwards safety wire that was replaced after I took this picture. Since Ted holds the repairman’s certificate for this plane, I had him inspect my work. I caught this before he came over to inspect.
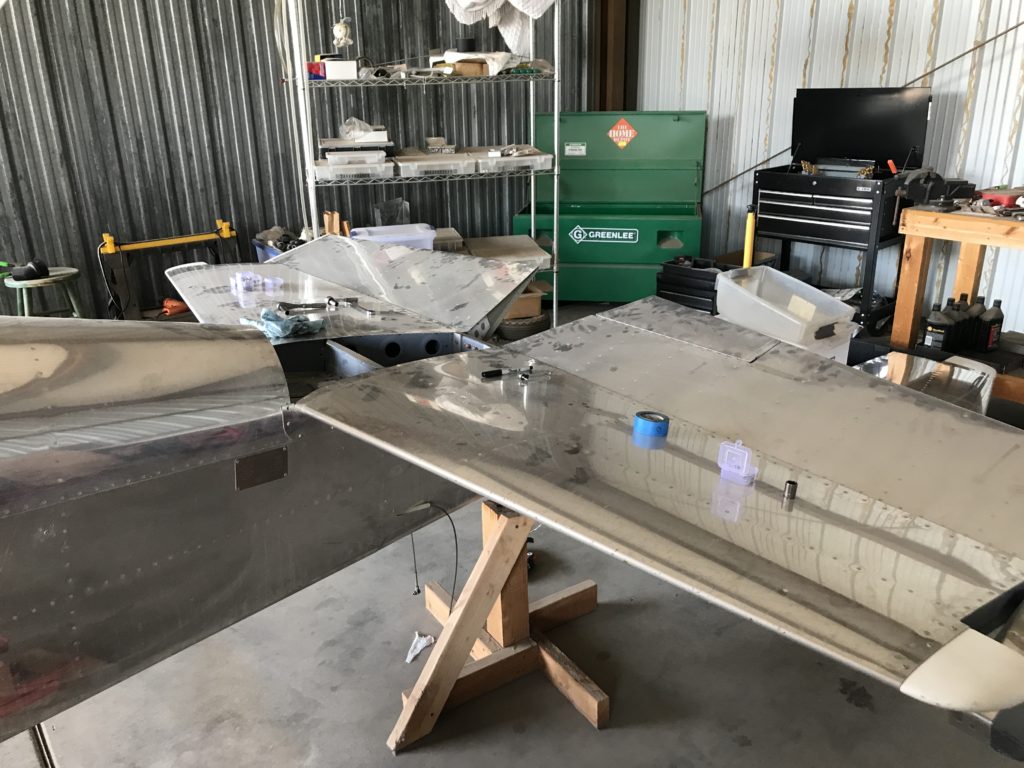
Step 2 – Removing the tail feathers and fixing these.
So when I was walking around the plane assessing what I needed to fix, I was slowly becoming overwhelmed at the amount of work I saw ahead of me. The good news is that I am mechanical and logical and have intimate knowledge of this plane already. Nothing like re-building the plane you started. Before you ask, what needed to be fixed? It was nothing mechanical and nothing that was an airworthiness issue. These things were all about the extra drag, and the ugly appearance as you can see below.
The tail feathers came off rather quickly with no real issues along the way. Below you can see a progress picture after the rudder and vertical stab came off.
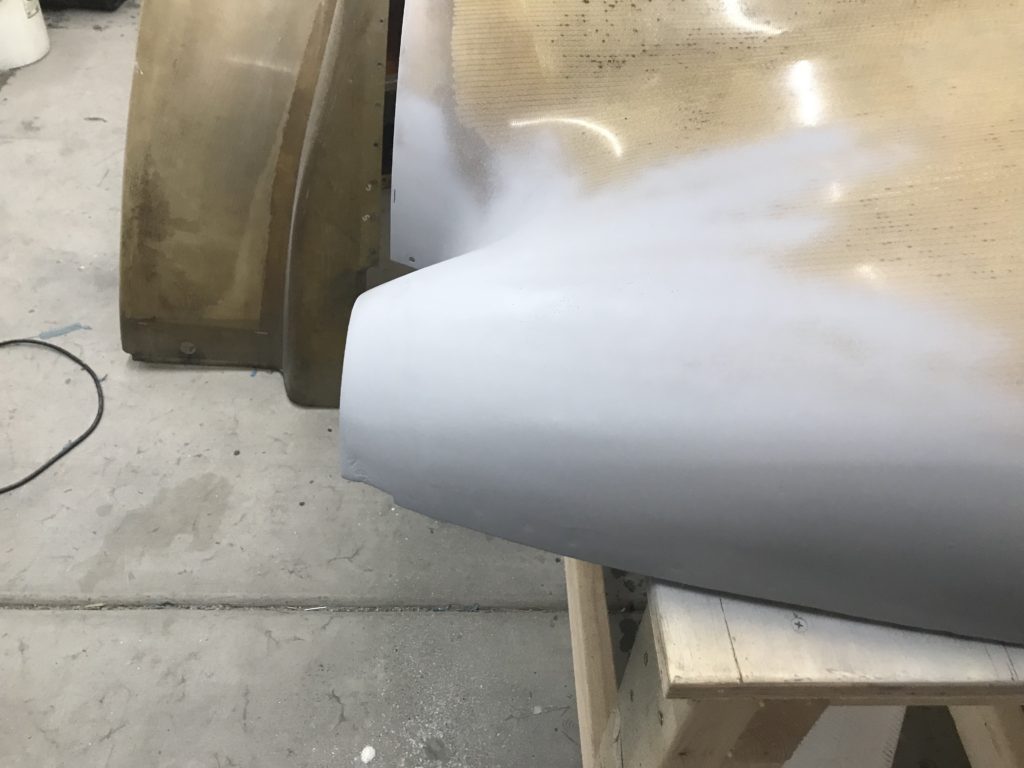
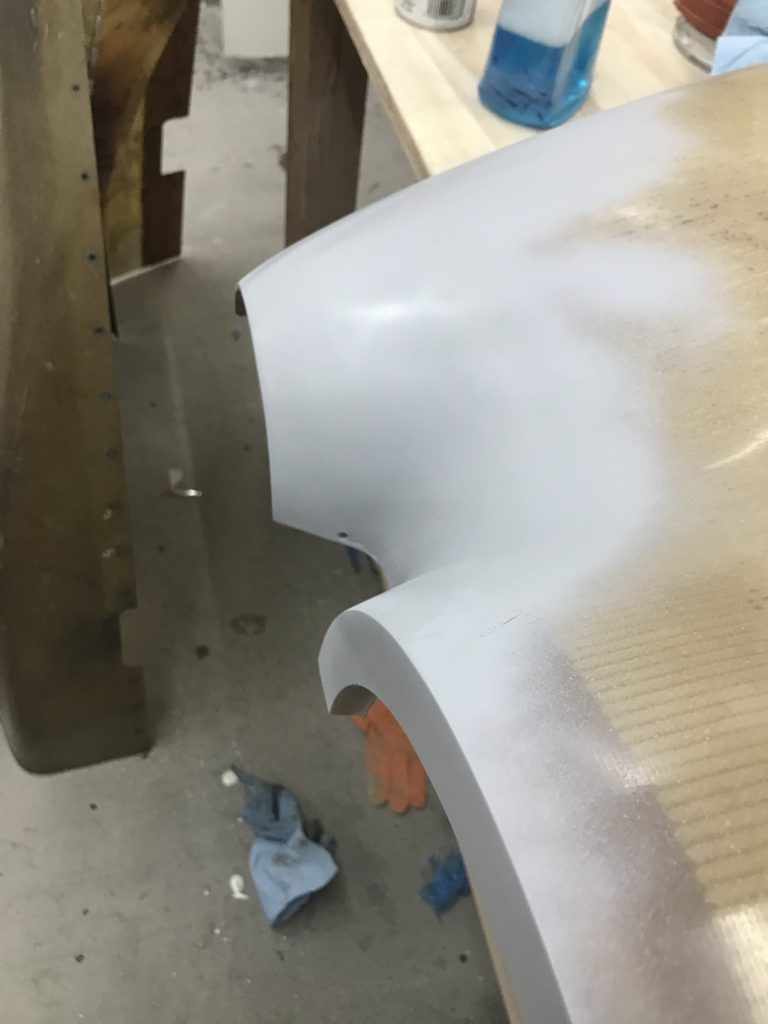
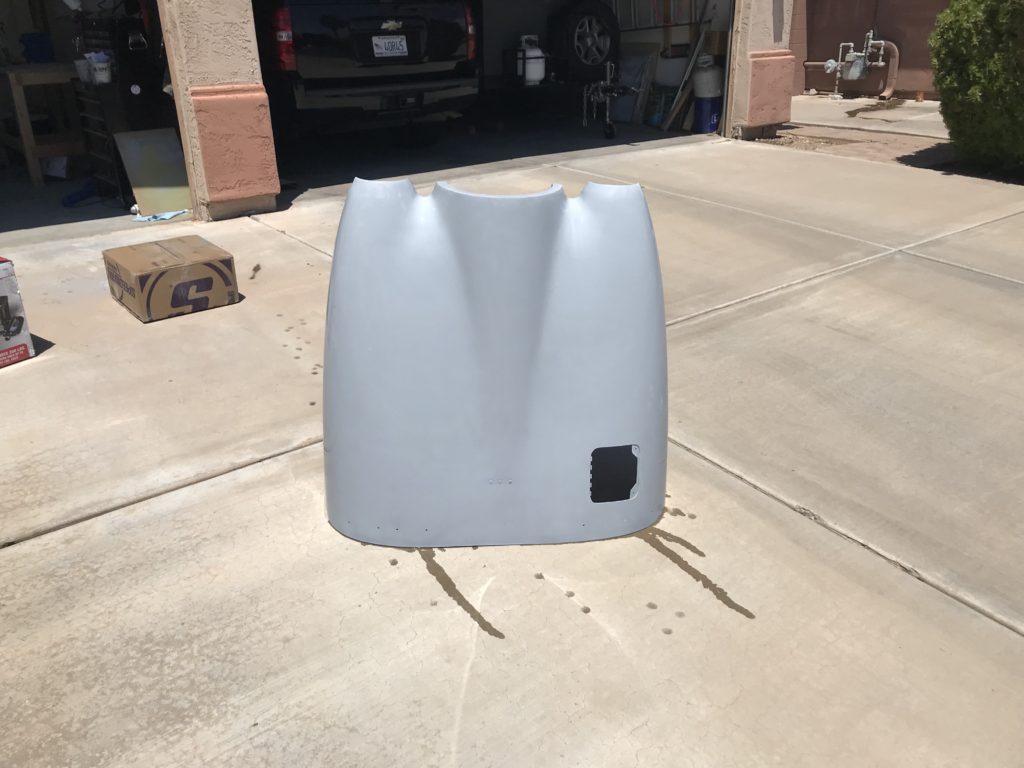
Step 3 – Removing the Cowling
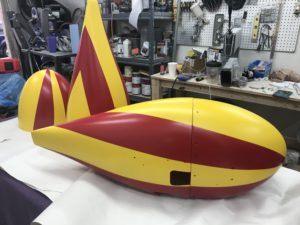
This was by far the “ugliest” of the parts. Looking at this make you wonder, but it was a lot of cosmetic work. I feel like I was giving a 6 year old plane a complete facelift with some of this work. The cowling was really bad when it came to appearance.
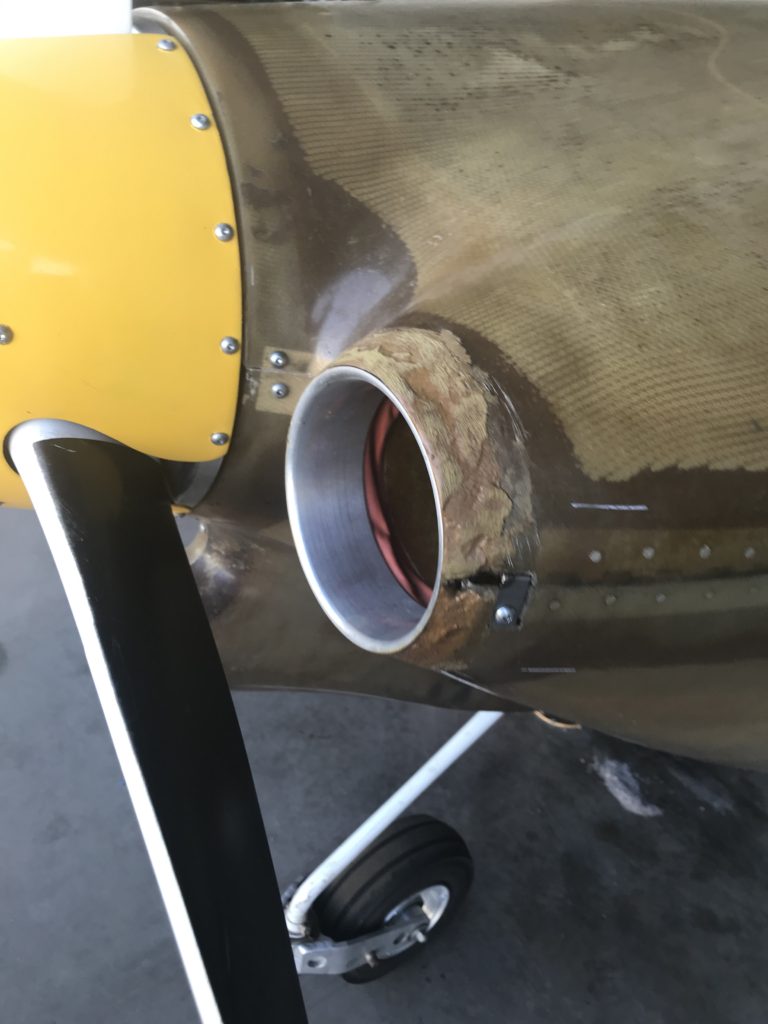
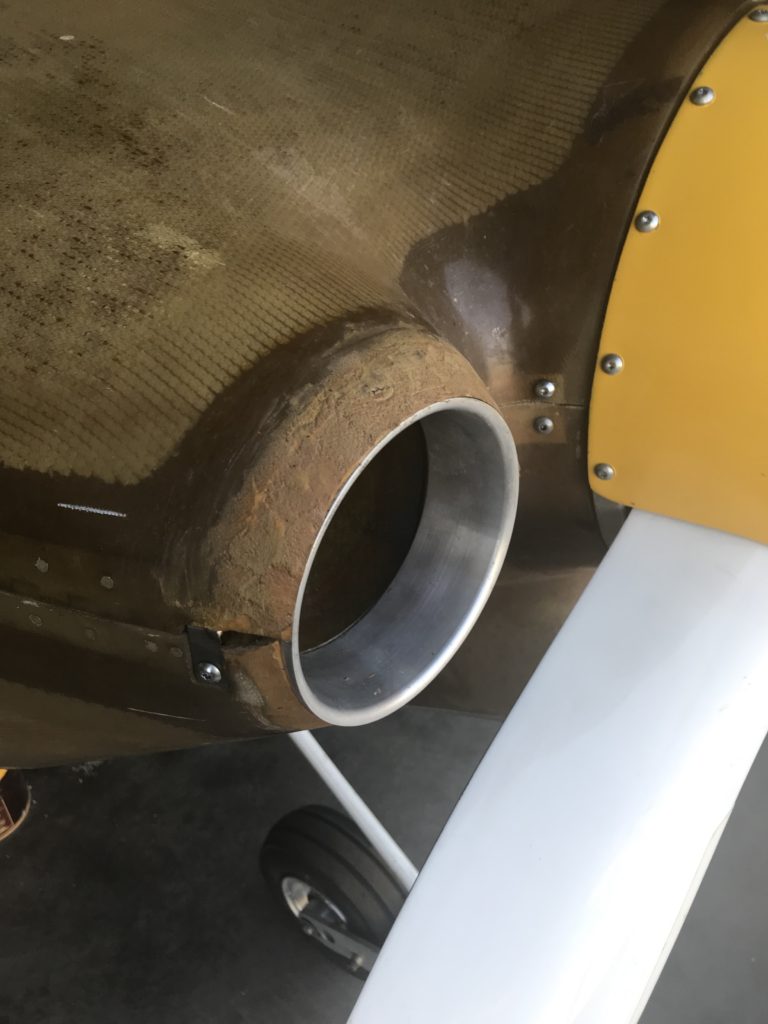
It took a ton of work, but I was able to get the cowling into something that at least I wasn’t afraid to let people see.
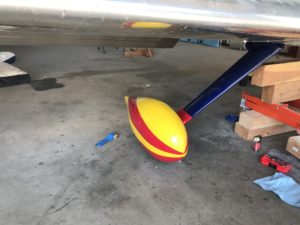
Step 4 – Removing the Wingtips
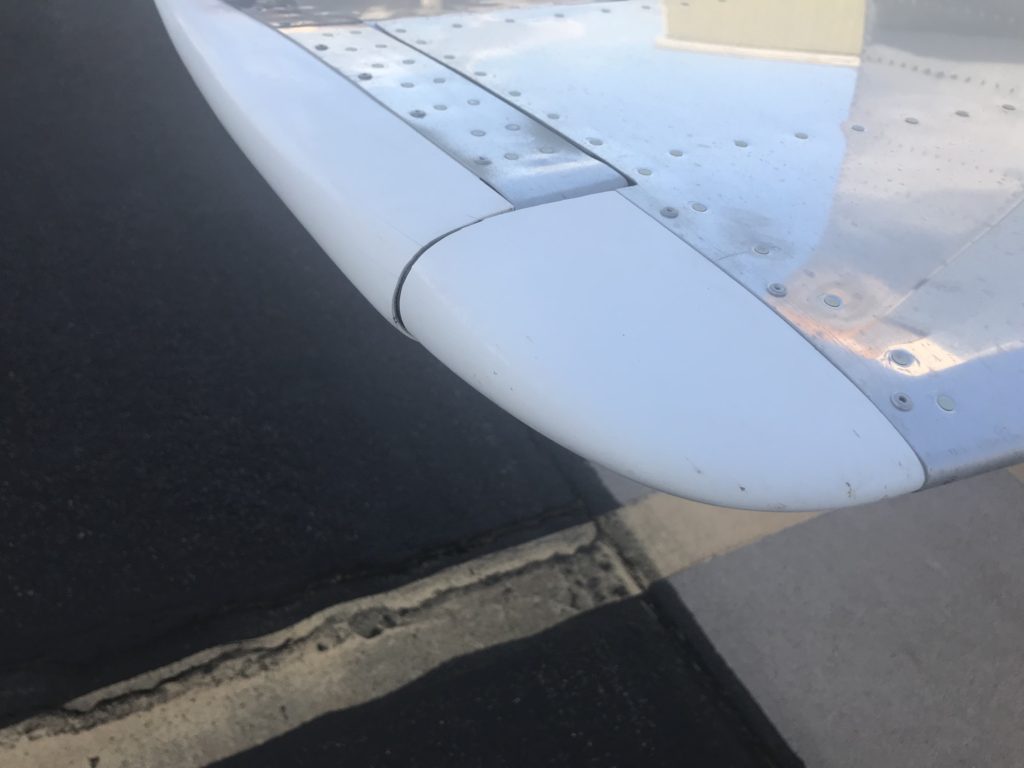
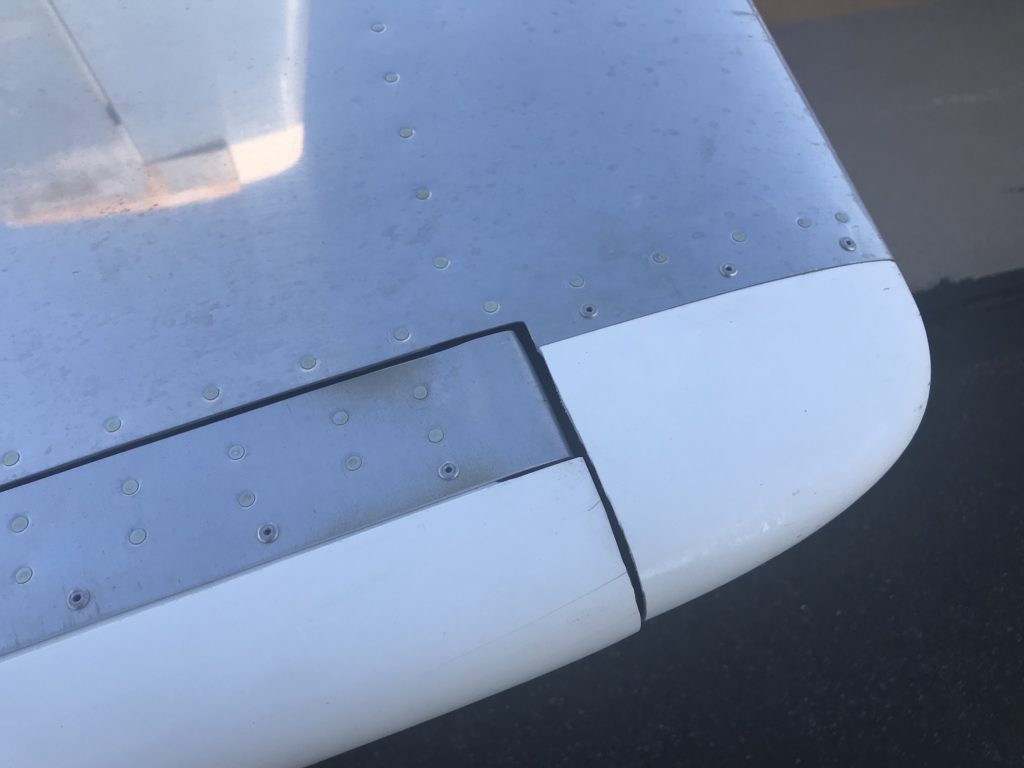
Once the cowling was removed, I had to move on to the wingtips and get those off. Ted never bothered to fix the wingtips so the trailing edges lined up with the ailerons. This is where Ted decided that my call-sign might be “Wingtip”. I can live with that.
The tips were just plain ugly. No primer, and still in the standard Van’s gel coat white. They were installed with #8 pan head screws so these were really bothering me too. Once the tips were removed, out came the dimple dies and my squeezer. I dimpled all of the #8 holes and ordered the countersunk screws from Spruce that night.
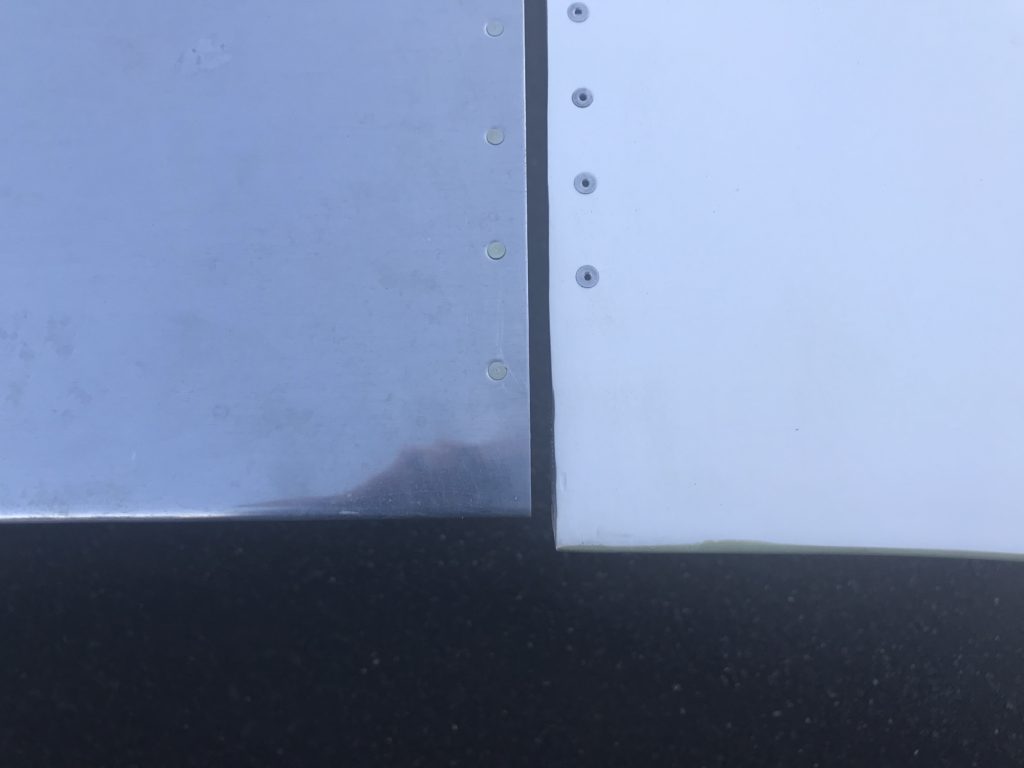
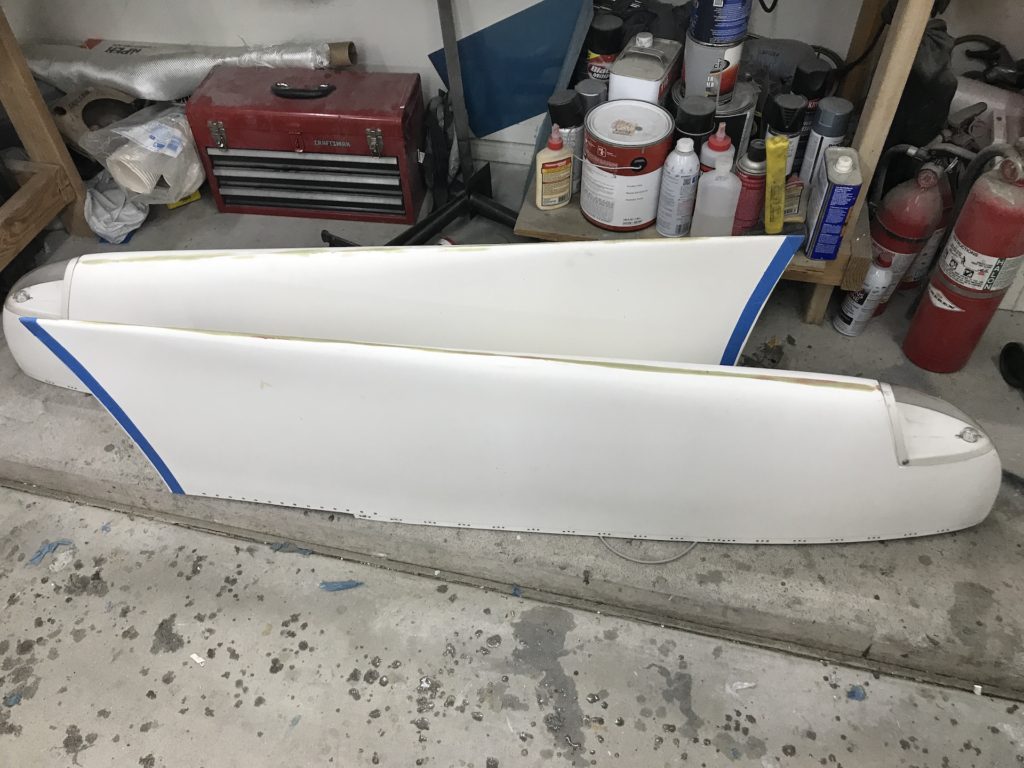
The wingtips were bothering me as much as the cowling. These were off by quite a bit. I measured them before I pulled them off and took them home.

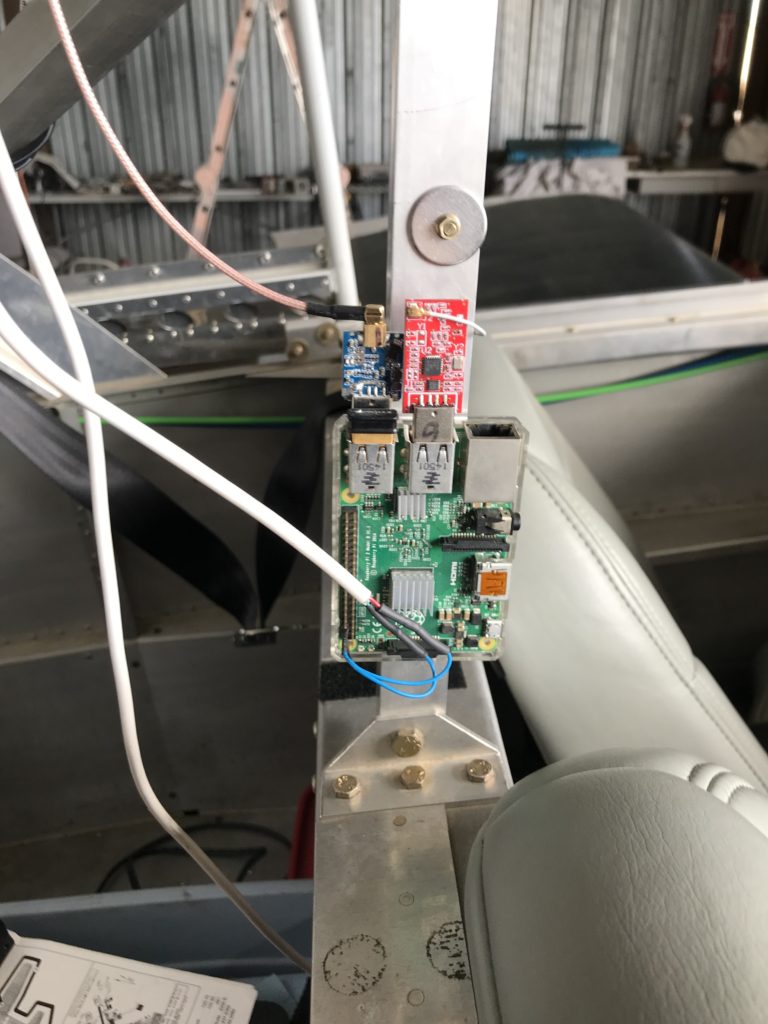
Step 5- Remove the ADS-B-IN.
Ted opted to install his Stratux ADS-B-IN on he plane without a box, etc. From now on, I’m just going to annotate with FNP (Functional Not Pretty). I spent the $50 to order a plastic case and GPS chip from Amazon and make this a portable ADS-B-IN receiver and built that up one evening.
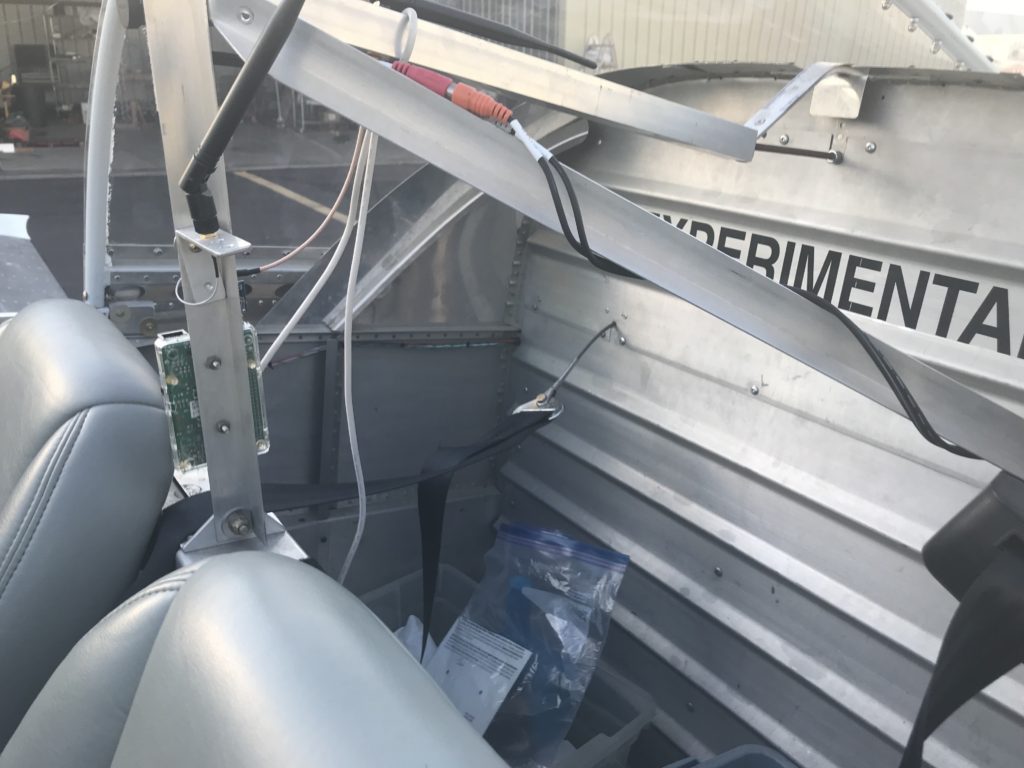
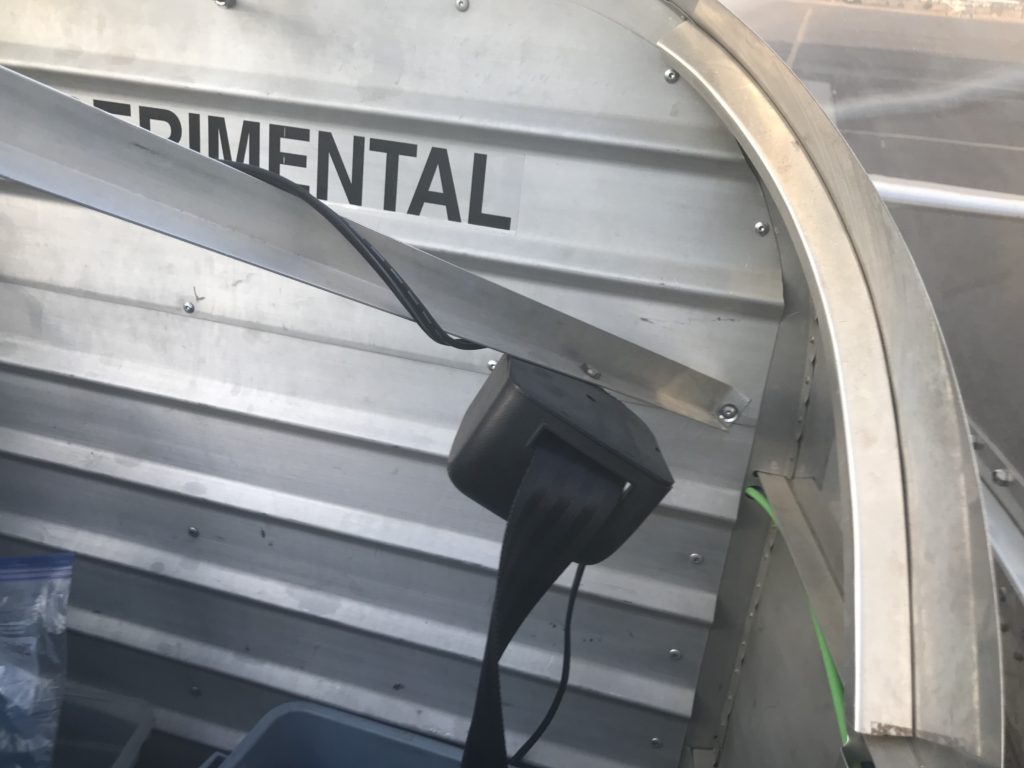
Step 6 – Remove the Retractable Shoulder Belt.
Ted had installed a shoulder belt and attached it to the standard Van’s seat belt attach point. Kind of cool if you’re into that, but I wasn’t a fan of the shoulder belt, or how it was attached. So out that came. And in went the standard Van’s 4-point harness. Much better!
The next steps will be getting all of this stuff back to the house into my amazing shop, and getting everything fixed. I will be removing the HS/VS/Elevator, and rudder tips, installing new ones correctly; fiber-glassing the tips and blending everything together. Fixing that ugly cowling. Cutting the trailing edges of the wingtips and getting those fixed. Countersinking the tips so I can accommodate the dimples. Prime everything. Install the NAV/Strobes. And…get it all put back together. Not an overwhelming task, just a lot of work.