This wasn’t too bad. Even though it took me most of a day out at the airport. I think it was only about 4-5 hours work total. I worked on other things out at the hangar that kept me busy.
First things first, I jacked up the plane. Once off the ground, I pulled the wheels off and installed the bracket. I spent a little time getting the right sized AN4 bolts. I think when I combined it with the Beringer calipers, it was an AN4-13, a washer, and lock-nut. Everything went together great, etc.
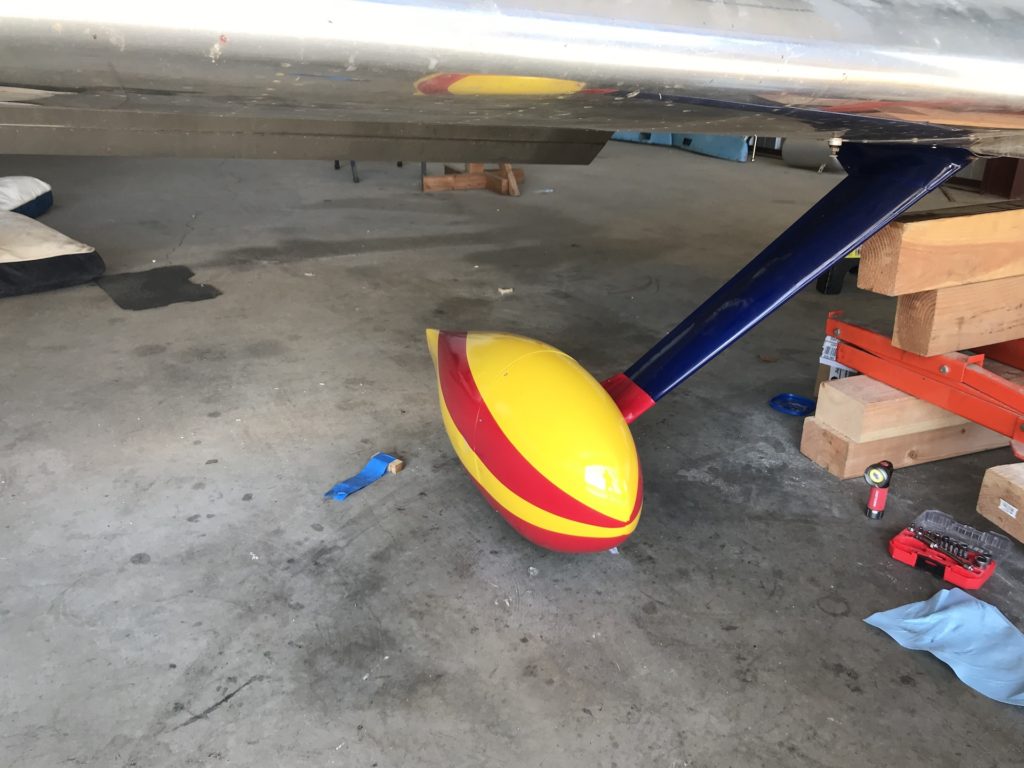
Next was to install the rear half of the wheel pant. then the front half. Then I installed the gear leg fairing. This little bastard took forever to get the piano hinge in there. Once that was on there, everything else went on quickly.
After he gear leg fairing, I installed the lower intersection fairing. This went on with no fanfare. lined right up and screwed down perfectly. The last part was the trailing edge. I have seen lots of different ways of doing this all of which look like a lot of work. I simply drilled two pairs of #40 holes in the trailing edge. One pair at the top and one pair at the bottom. after everything was on I grabbed some safety wire and closed those up. They look amazing.
Last was the upper intersection fairing. Like the lower one, it went on just fine. Safety wire the trailing edge and the co-pilot side was done.
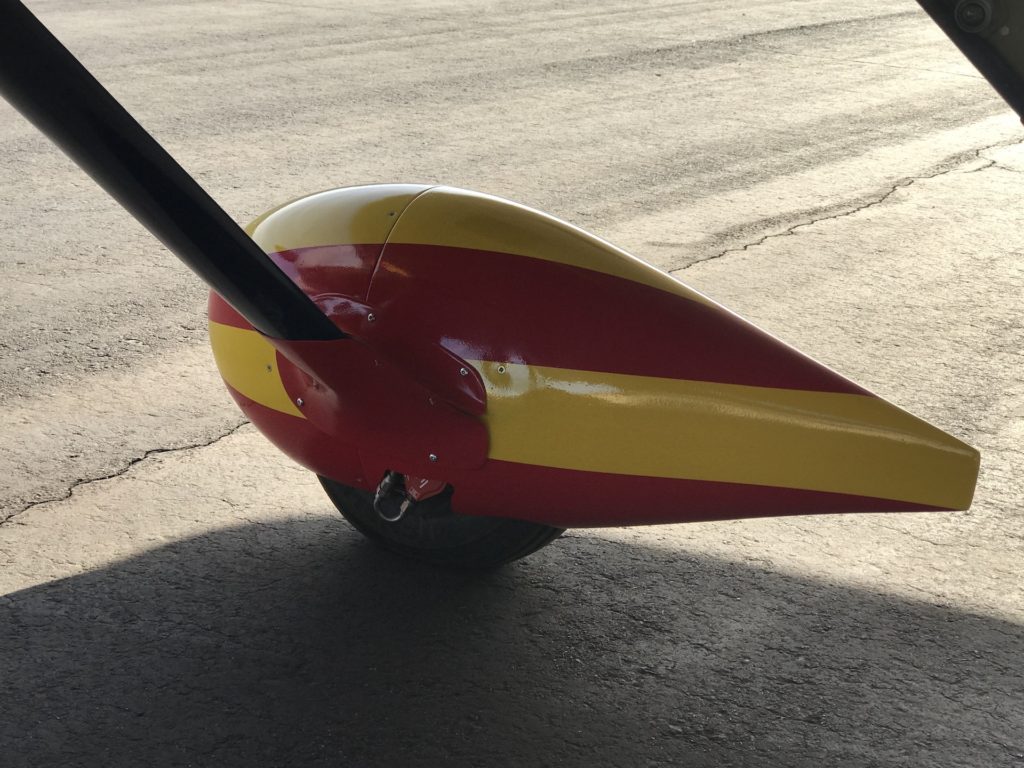
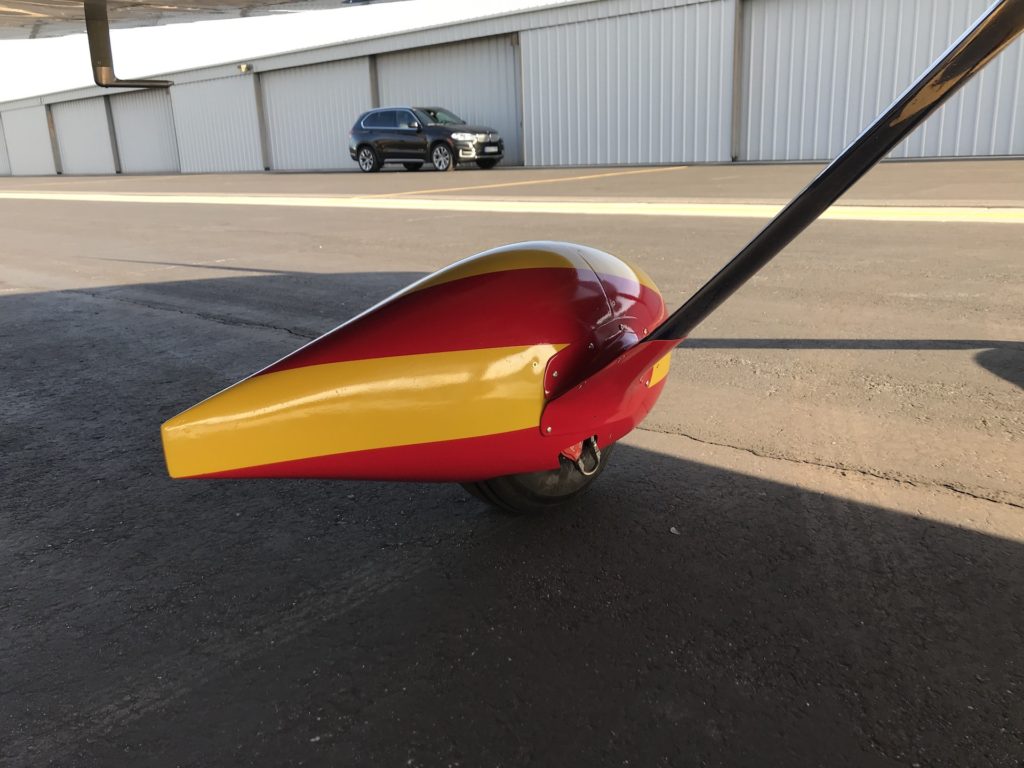
Here’s a shot from when I was done installing the co-pilot side. This side went on easier than the pilot side. Had an issue that required me to remove the pant and start over.
On the pilots side, I ran into a couple of issues. The first one, one of the holes for the rear-half didn’t line up for the nutplate? What the hell? Why? Ok, well, gotta fix this. So I enlarged the hole so i could get a #6 screw in there. That worked out fine since it was the hole on the rear half and not the front half.
Second issue. As I was putting in the last screw, yes the last one. The damn thing broke the head off. What the hell? Really? The last one so I had to pull both the front and rear halves off and use a pair of vice grips to get the screw out. Ok. that wasn’t too bad. Just lost a half-hour doing this.
Once I get the front and rear halves installed, it was much the same process for the gear leg fairing and intersection fairings. Everything on those worked out great.
Once I got everything installed, I spent a good hour plus cleaning the hangar up. I took the trash out, get all the tools from this step put away, got my stuff squared away. So I rolled the plane out of the hangar for some pictures.
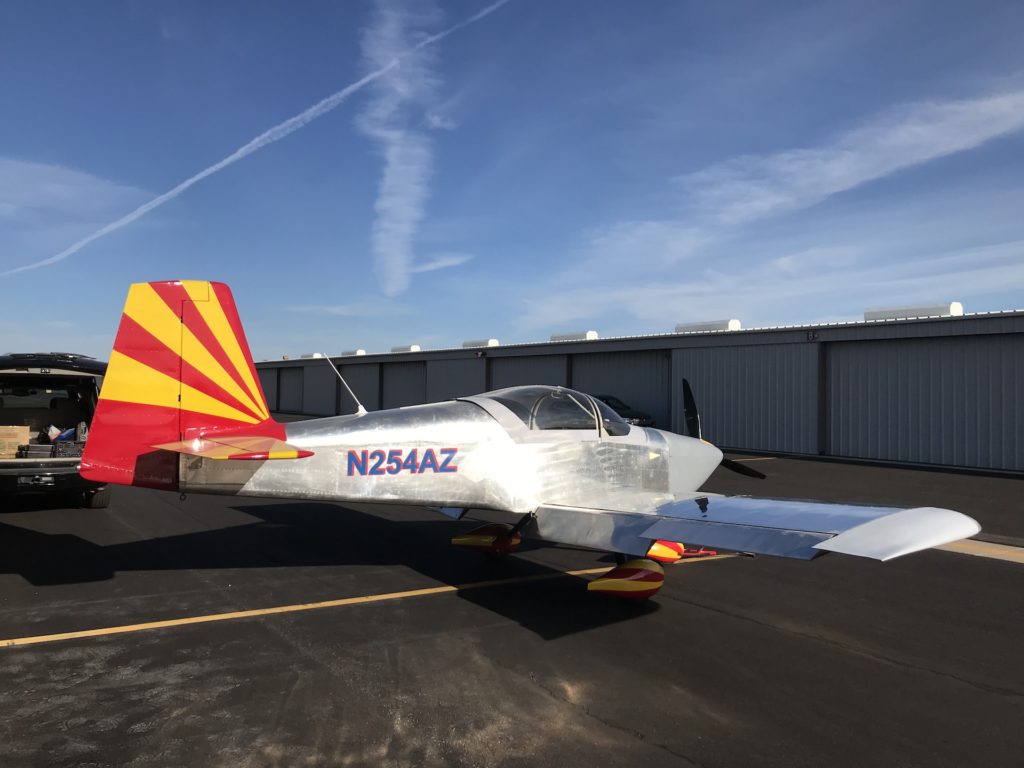
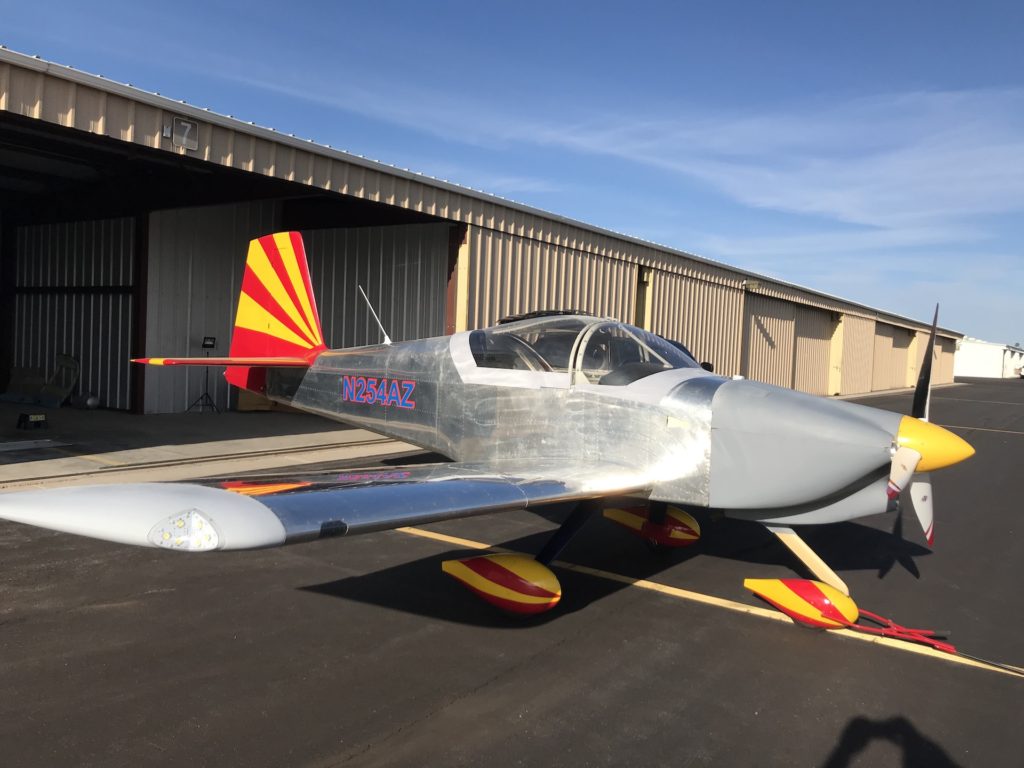
Now before anyone wonders…Yes, the nose wheel fairing is still under primer. I didn’t pull this off before to do these all at once. I opted to do the nose wheel fairing when I pull the cowling off to paint it. which should be this week.

When all was said and done…I am happy with how these turned out. This is still a 5-8 foot paint job. Meaning, you’ll get to about 5-8 feet away from the plane before you start to see the mistakes/imperfections. Hopefully, I will have some decent numbers to report by adding these when I go for a test flight. My TAS was at 150-152KTAS before the wheel pants. I’ll be happy with 155-157KTAS after adding these. Anything more is just gravy to me.
Some people are saying to expect 10KTS. Other say 5KTS with the biggest gains coming from the gear leg fairings. I guess we shall see.