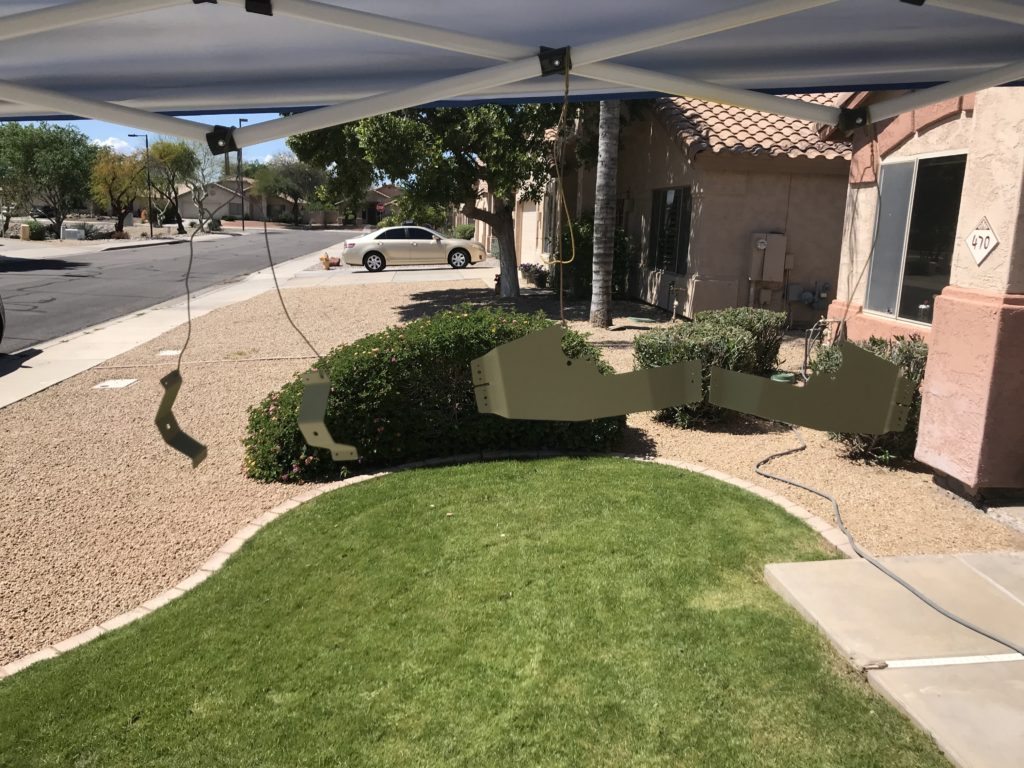
So this started off with first with getting all the parts together for the wheel pants and making them all fit and make sure they’re all straight. I had to jack up the plane and take off the wheels to get the brackets installed. This also required relocating the brake calipers because they were mounted trailing on top. This put them in interference with the wheel pant brackets. So I spent a good 45 minutes scratching my head on making all this line up correctly.
Step One: I had to rotate the bracket that the calipers mount to 180 degrees. Easy enough.
Step Two: Install the calipers and make sure everything lined up correctly and I could still install the brackets.
Step Three: make some spacers. This one was interesting because Vans has you make these out of some 6061 cut down to 13/32″. So what I did was go to the aviation section of Ace hardware and locate the correct diameter of spacers that were 1/2″ long. I then used my grinder to take those down to 13/32″.
Step Four: Mount it all up and see what you have to adjust and get it drilled. Its an easy step but it took a lot of back-n-forth in the hangar. The upside is that I waked 5 miles just inside my hangar that weekend. The measuring and aligning was probably the most work out of all of this.
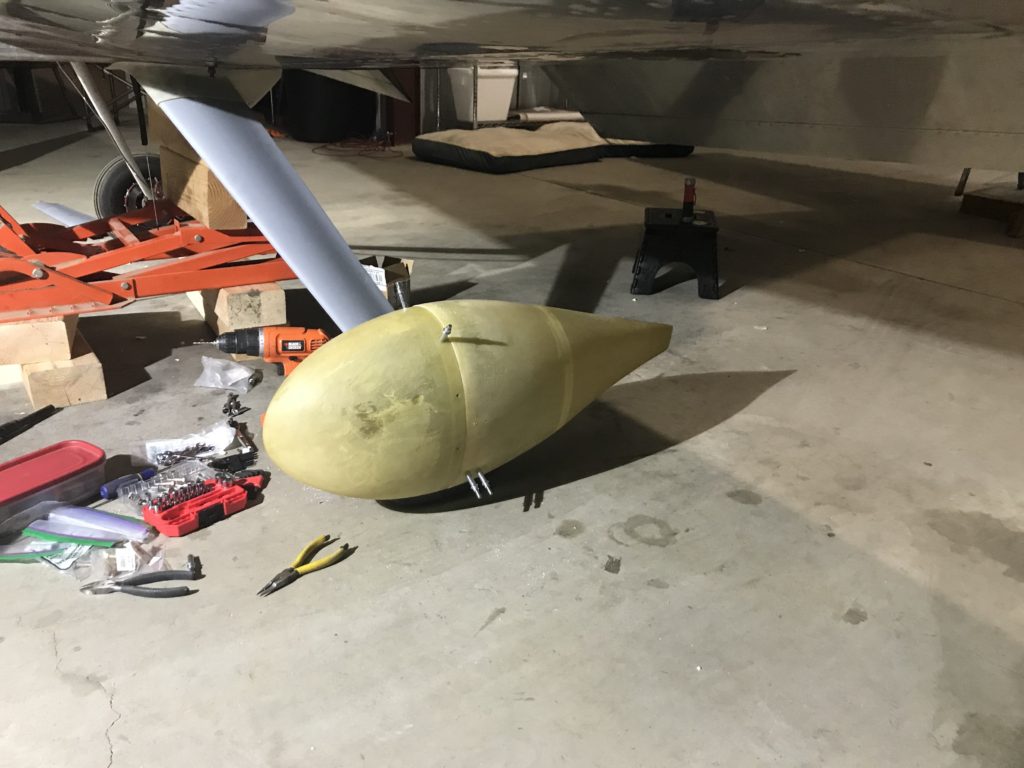
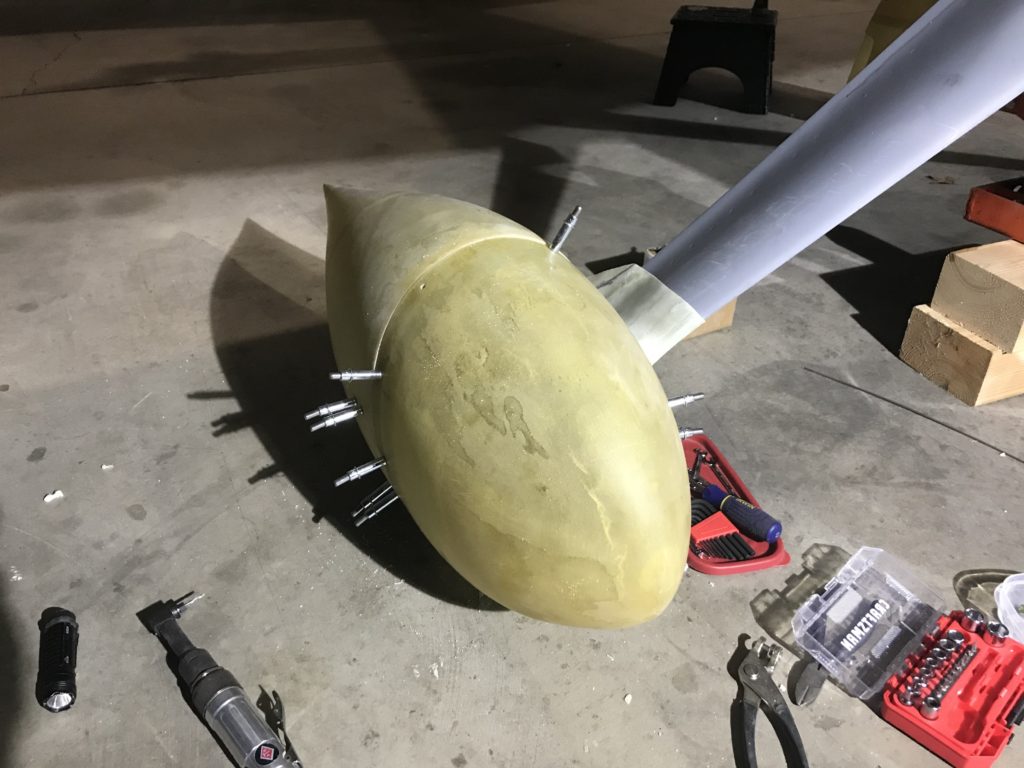
Step Five: take it all apart. This step sucked. Here I was with wheel pants all set up and looking really cool (albeit with clecos) and now I have to take it all apart.
Step Six: take it all home and start massaging these into finished parts.
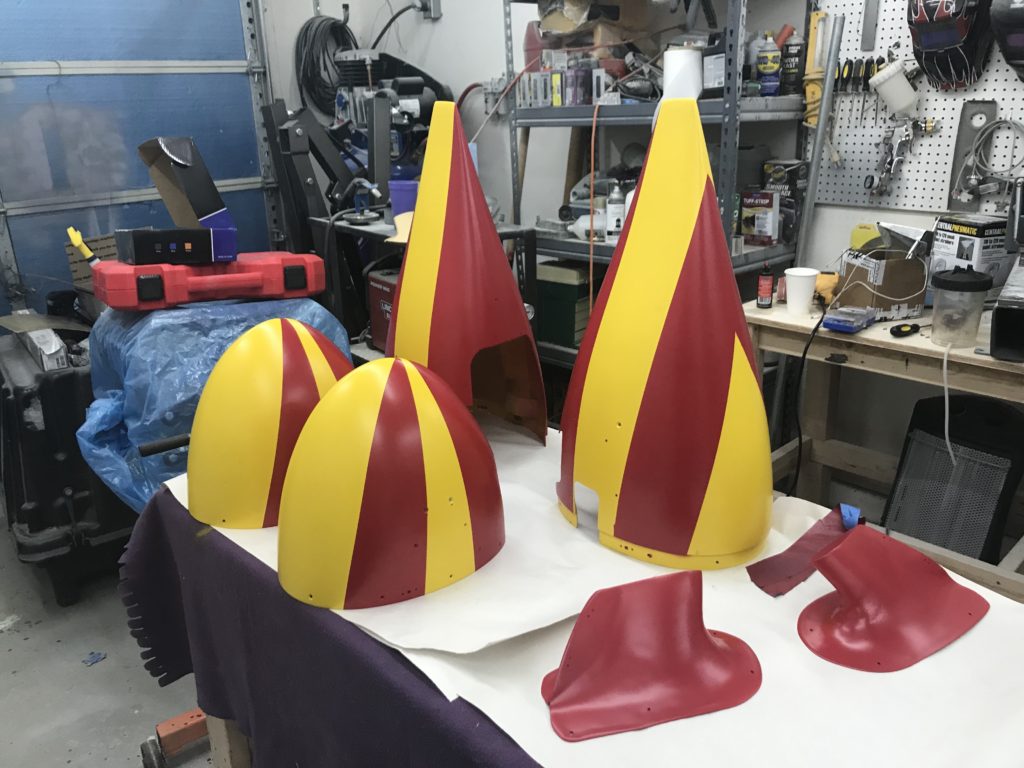
Step Seven: Finish coat and try to fill the pinholes. I say try because I succeeded with the intersection fairings but the wheel paths themselves were a bit tricky. Those had pinholes in some of the most inopportune places. Cest la vie.
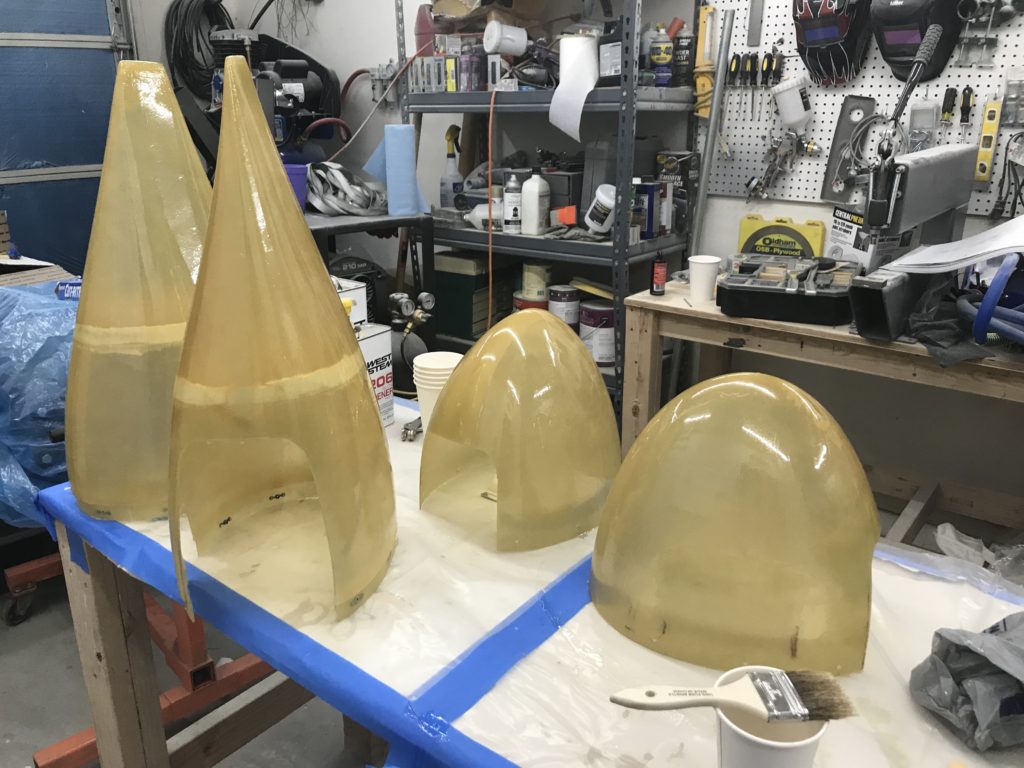
Step Eight: Let us start with the primer. For the brackets, I used my standard AKZO two-part epoxy primer. Two or three good coats should help with a part that is going to be sitting out in the wind like that.
For the fiberglass parts, I am using a 2K high build primer (Color: buff) that should help with pinholes, right? 4 8 15 16 23 42 <execute> Sorry, just having a LOST moment. I’m a nerd like that. I use buff because when I paint the yellow, I don’t need 3-4 coats to cover the grey primer. The primer just seemed to reveal more pinholes.
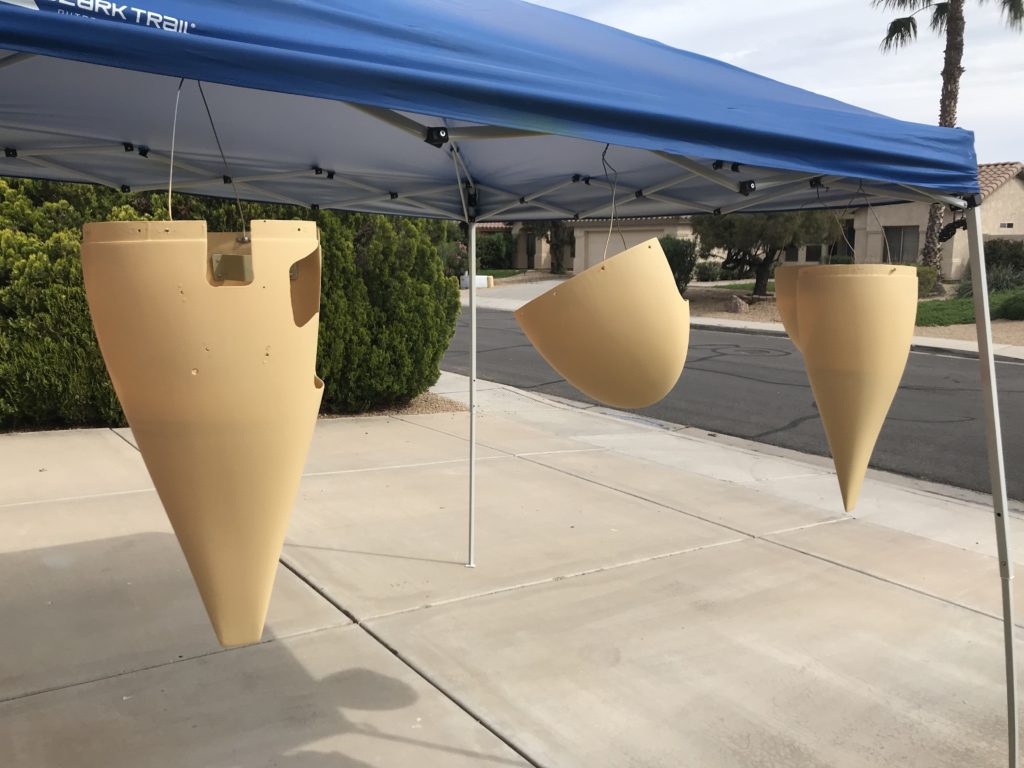
Yeah right. This just revealed more pinholes. GRRRR!!
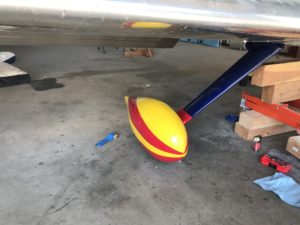
Step Nine: Paint the yellow, let it cure.
Step Ten: Mask for the red. This is the shit! When I was done masking I was going to wait till the morning and paint…but I pressed on. Here is a picture of me “doing the dance”.

Step Eleven: I painted the red, this shit came out great. Also, painted the lower intersection fairings. Tomorrow will be the clear coat.
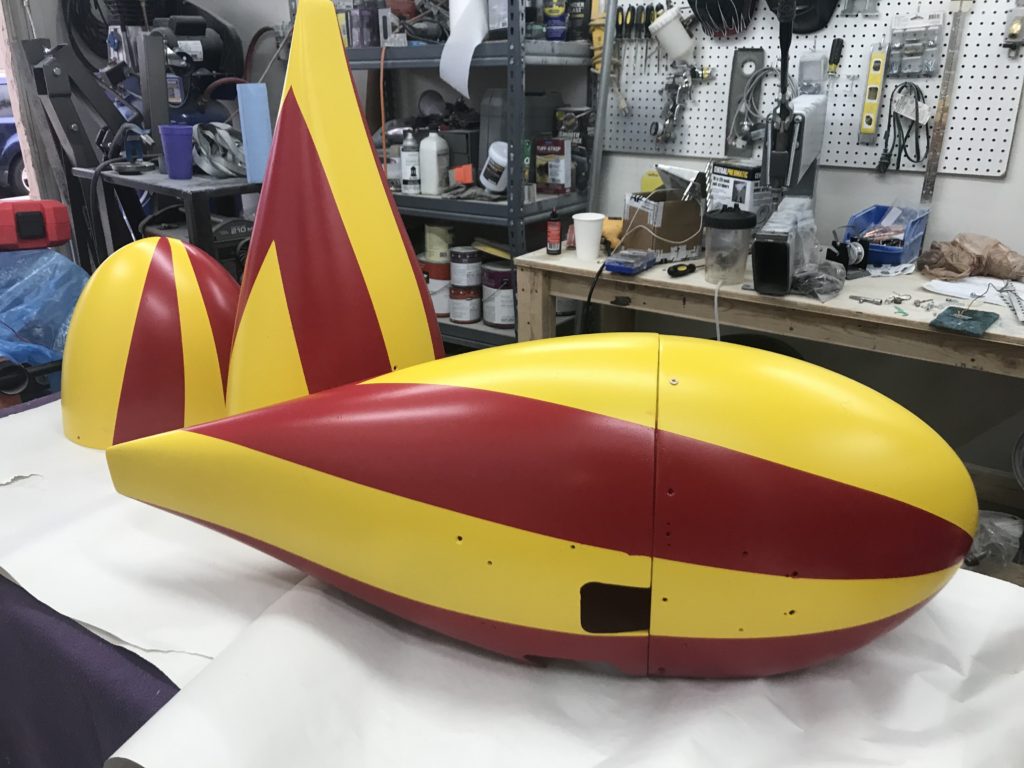
Step Ten: Hit these with a few coats of clear coat. I’m pretty sure I am not opening up the nozzle enough, I got some orange peel even on coats two and three. Sigh…

I’m going to let these cure for a few days before I install them. 72 hours seems to let these fully cure.