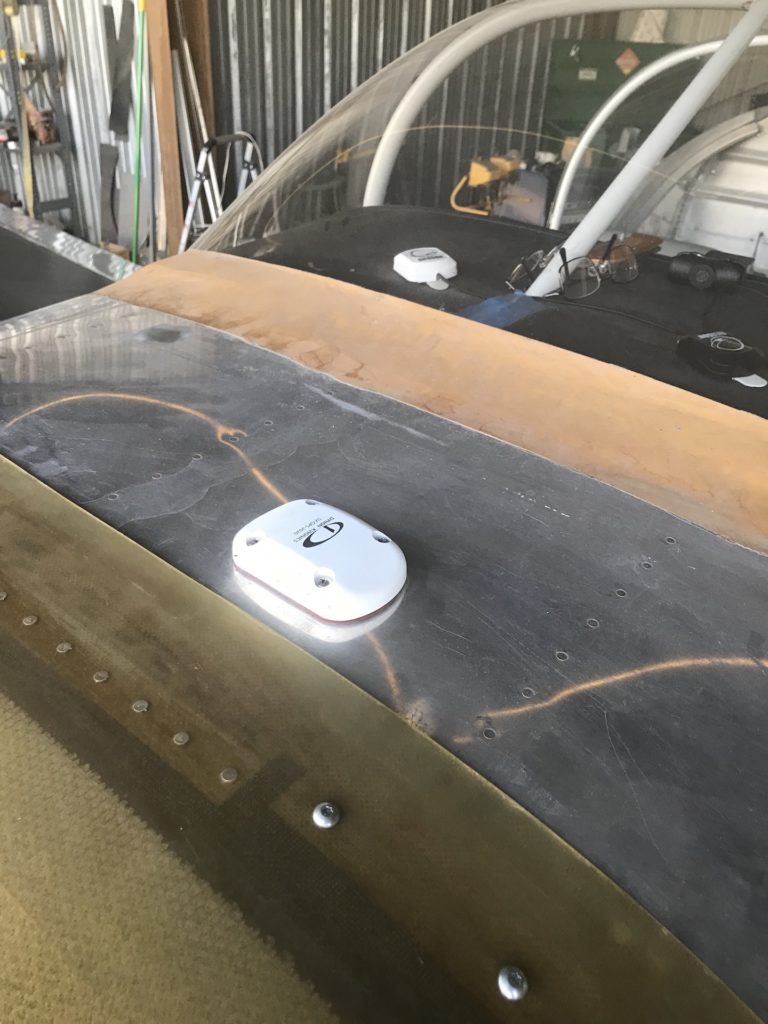
This was another one of the FNP items that I wanted to fix. This actually only took me two days out at the hangar while I was drilling and aligning the wheel pants. So in reality if I had worked on this without doing other things, It was maybe a 4-hour task total. You can see from the pictures that there is no finish work done up here. This thing was kinda sad looking.
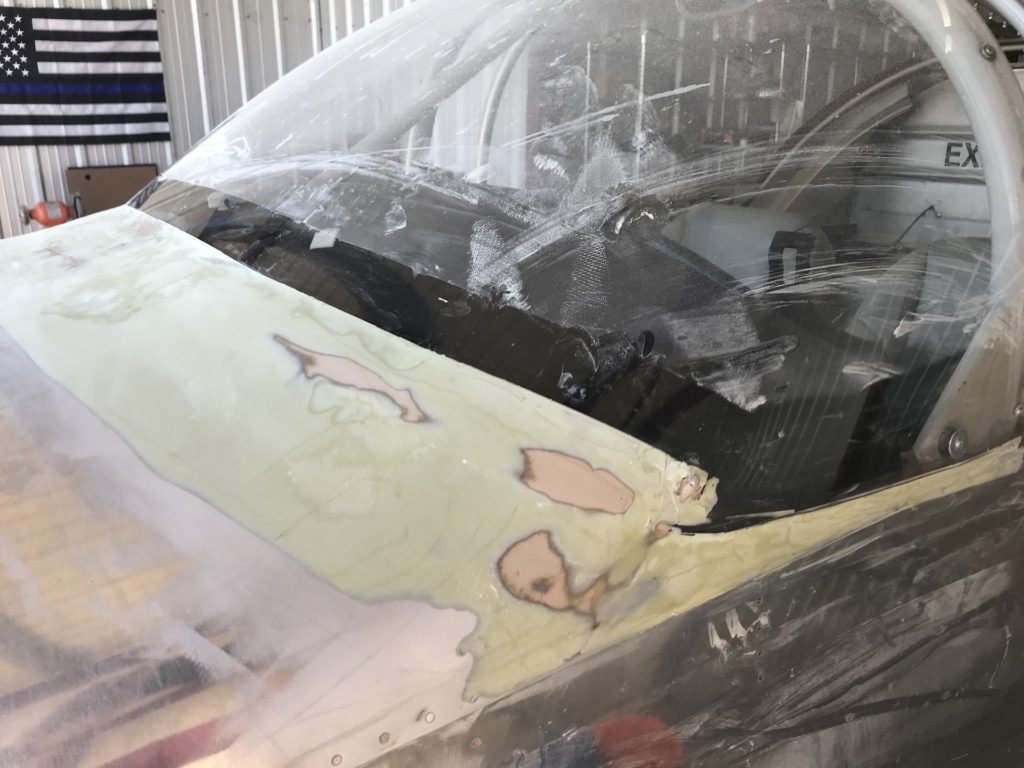
Step 1: Mask everything off so that I had a working surface. Since this was on the plexi as well as the fuselage, I had to mask where things would taper off, etc.
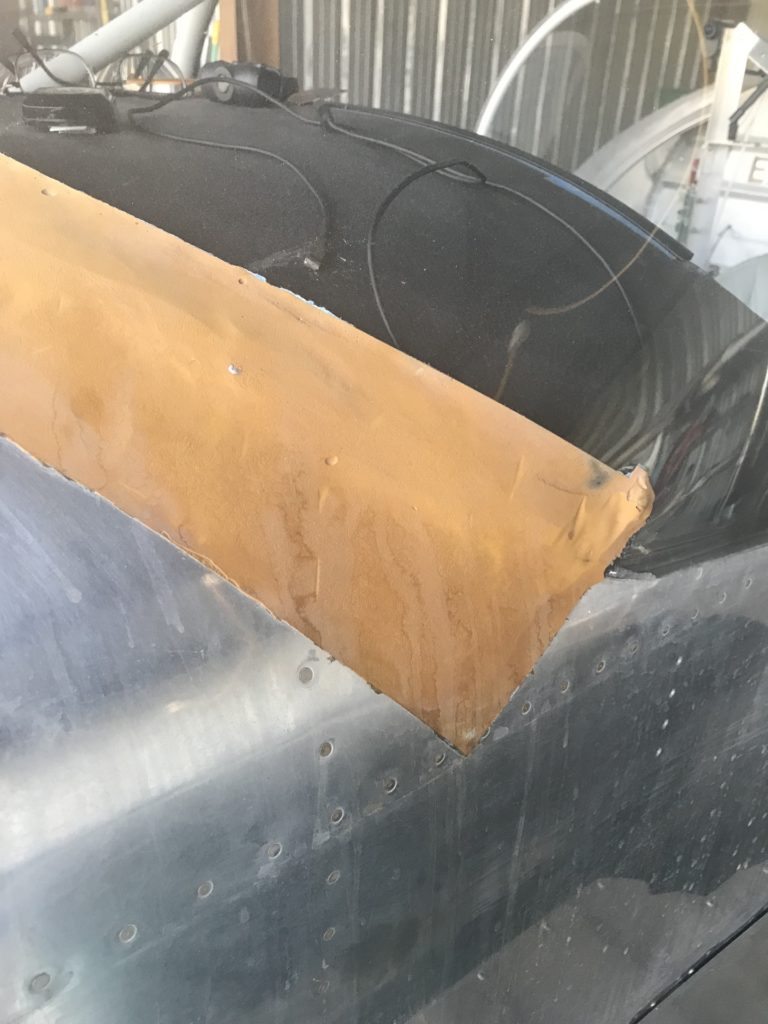
Step 2: Sand the surface and shape the contour that I wanted. this also allowed me to rough up the aluminum. The bulk of the work was done, but like most of the finish work, it was at 85%.
Step 3: Rage Gold the whole thing and let it harden. This is probably the shortest step because Rage Gold hardens so fast. This stuff is usually ready to sand within the first hour.
Step 4: Start the daunting task of sanding this down. This is the most work. I used 4 different grits of sandpaper, multiple tools, a palm sander, and a lot of swear words.
Step 5: Remove the tape and inspect. This is where you need to feather in the edges where it transitions to the fuselage.
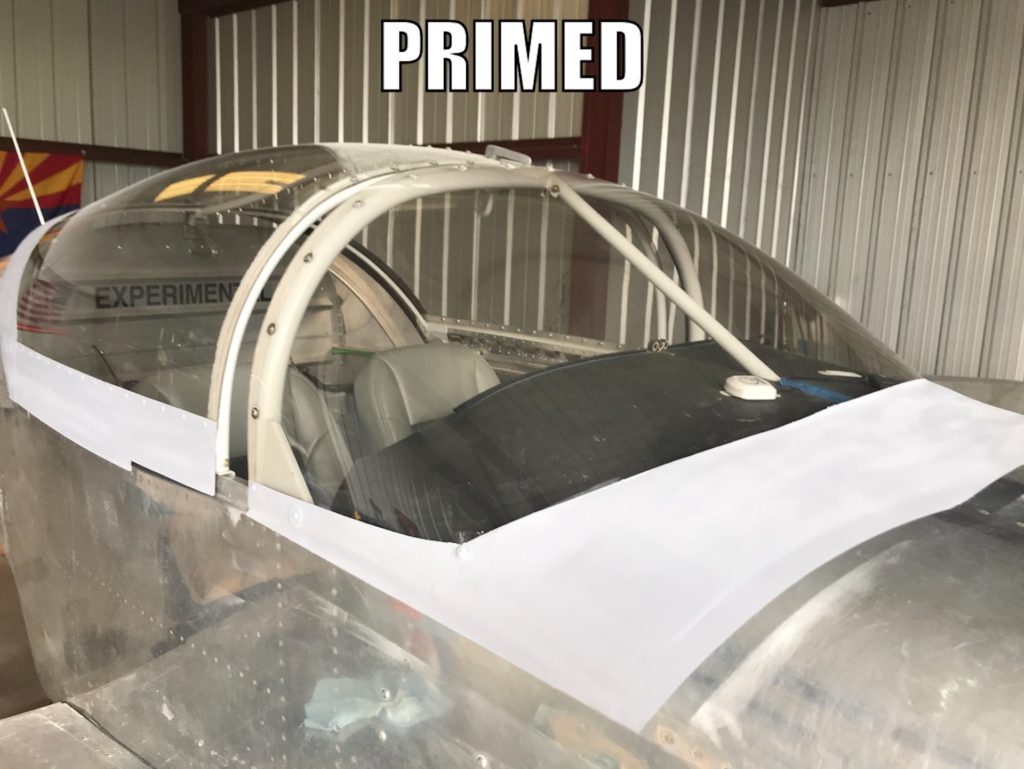
Step 6: Mask the area for priming. Easy peasy step.
Step 7: Prime the area. It was then that I decided to hit the skirt and the rear canopy fairing. There were too many pinholes in the rear fairing for me to like how this turned out. I am going to fix this one before I do this again.